
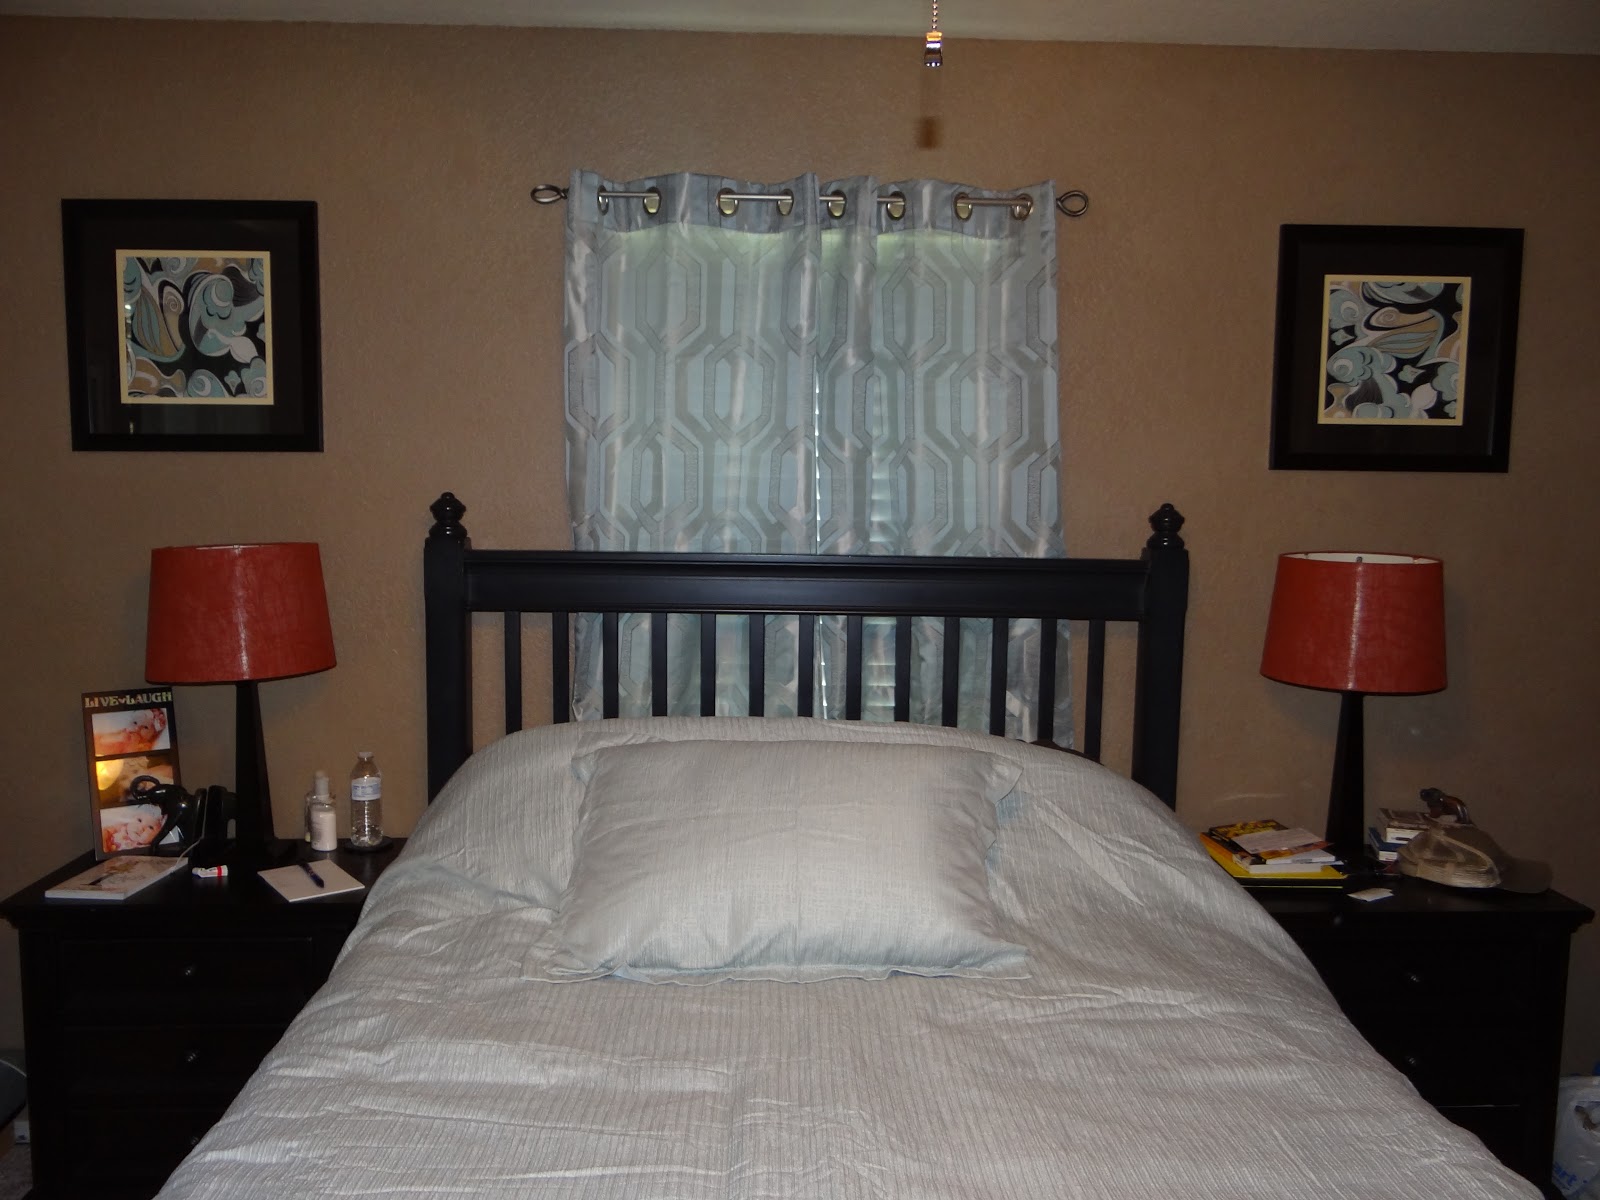
In our master bedroom, our bed is against a wall that has one window in the center of the wall. That leaves space on either side of the window for some wall decor. I've had this artwork on either side of the window in that room for several years:

When I first got it, I loved it! However, as time has passed, I've grown kind of tired of it. Recently, I've been looking for something new, but I haven't had any luck finding what I want. Not too long ago, I was telling Chris that I really wanted something framed that looked just like the pattern and colors on this shirt in my closet:

He suggested that I use the shirt to make new artwork, and I thought that was brilliant! So one afternoon while the children were napping, I set to work. First, I tore the paper backing off the existing framed artwork.

Then, I popped the artwork out of the frame.

The artwork was matted, and I wanted to preserve the mats.

In order to do that, I had to pull the artwork away from the mats.

It really did a number on the artwork, but that was fine by me because I was able to save the mats!

The next thing I did was cut the sleeves and collar off of my shirt. I really liked this shirt and wore it often several years ago. However, it no longer fit my mom-bod well, and I was ok to let it go.

Once I got the shirt cut up, I took the fabric, artwork, and spray glue out to my backyard.

I've used this spray adhesive before and always had good luck with it!

I sprayed the back side of the artwork with spray adhesive and pressed the fabric on it.

I had to work a little to make sure there were no wrinkles, but it went on fairly easily.

After it all dried (just a minute or two), I took it back inside, and put the mats on it.

Finally, I put it all back together with the glass and frame, and hung it back on the wall.

Voila! New wall art that was exactly what I had imagined! I love upcycling things, and this was a quick and easy project for sure!

No comments:
Post a Comment