
The other day, we *finally* finished up a few last details on the playhouse we built for the children several years ago. I took a few photos of the finished playhouse, which reminded me that I never posted pictures of our playhouse on here! This post will be the official playhouse tour!
Back in 2015, we had just added the twins to our family, and were a family of six living in a 1200 square foot house. It wasn't terrible or over-crowded by any means, but I'm a person who doesn't like clutter (it hurts my brain!). I didn't want any more stuff to pick up or clean around or clutter up my head and my house. I started thinking about something we could give the children for Christmas that year that they could all share and would all enjoy, and that's when I initially came up with the idea to buy them a small playhouse for the backyard.
I discussed my idea with Chris, and he decided almost immediately that he wanted to build them a playhouse instead of buy one. At first, I wasn't really on-board with building our own. At the time, we had a five year old, a three year old, and infant twins. WHEN were we going to find the time to build a playhouse?!? Plus, I know how our projects tend to grow and grow until they end up much bigger than we anticipated.
However, Chris convinced me that building the playhouse ourselves was the way to go :-). He drew up the plans himself (consulting a few times with my dad), and we got started on it in October of 2015.

Chris took off a few days from work to complete the initial build. As you can see, my idea for a small playhouse grew to a much bigger playhouse than I had imagined. I was initially thinking it would be about five feet tall, but it ended up being 14 feet high from the ground to the peak!

It has four working windows and shingles on the roof!

My dad spent a few days with us helping Chris with the initial build, and of course Brenson had to be in on the action as well.

Brenson was three years old at the time of playhouse construction, and he loved every minute of helping build!


Momma's heart didn't love looking out and seeing my THREE year old on a ladder, but I went with it :-).


Since we began construction in October, we had no choice but to tell the children that this was their Christmas gift. Obviously they could see the outside of it, but we didn't allow them to go in the playhouse until we celebrated Christmas. By this time, all of the major construction had been completed.

We had four very excited kiddos on our hands when it was finally time to see the inside of the playhouse and be able to play in it!


As excited as the kids were to see the inside of the playhouse, it unfortunately wasn't finished yet. We spent several weekends in early spring of 2016 (when the weather permitted) finishing it up!

The interior of the playhouse also ended up being quite different from what I had initially planned. The walls are sheetrocked, paneled, and painted. My dad made the cute trim and window sills for the windows, each wall has an electrical outlet, the ceiling is textured, painted, and trimmed, it has tile on the floor, and a working light inside the playhouse AND on the front porch! I think it turned out so cute, though!

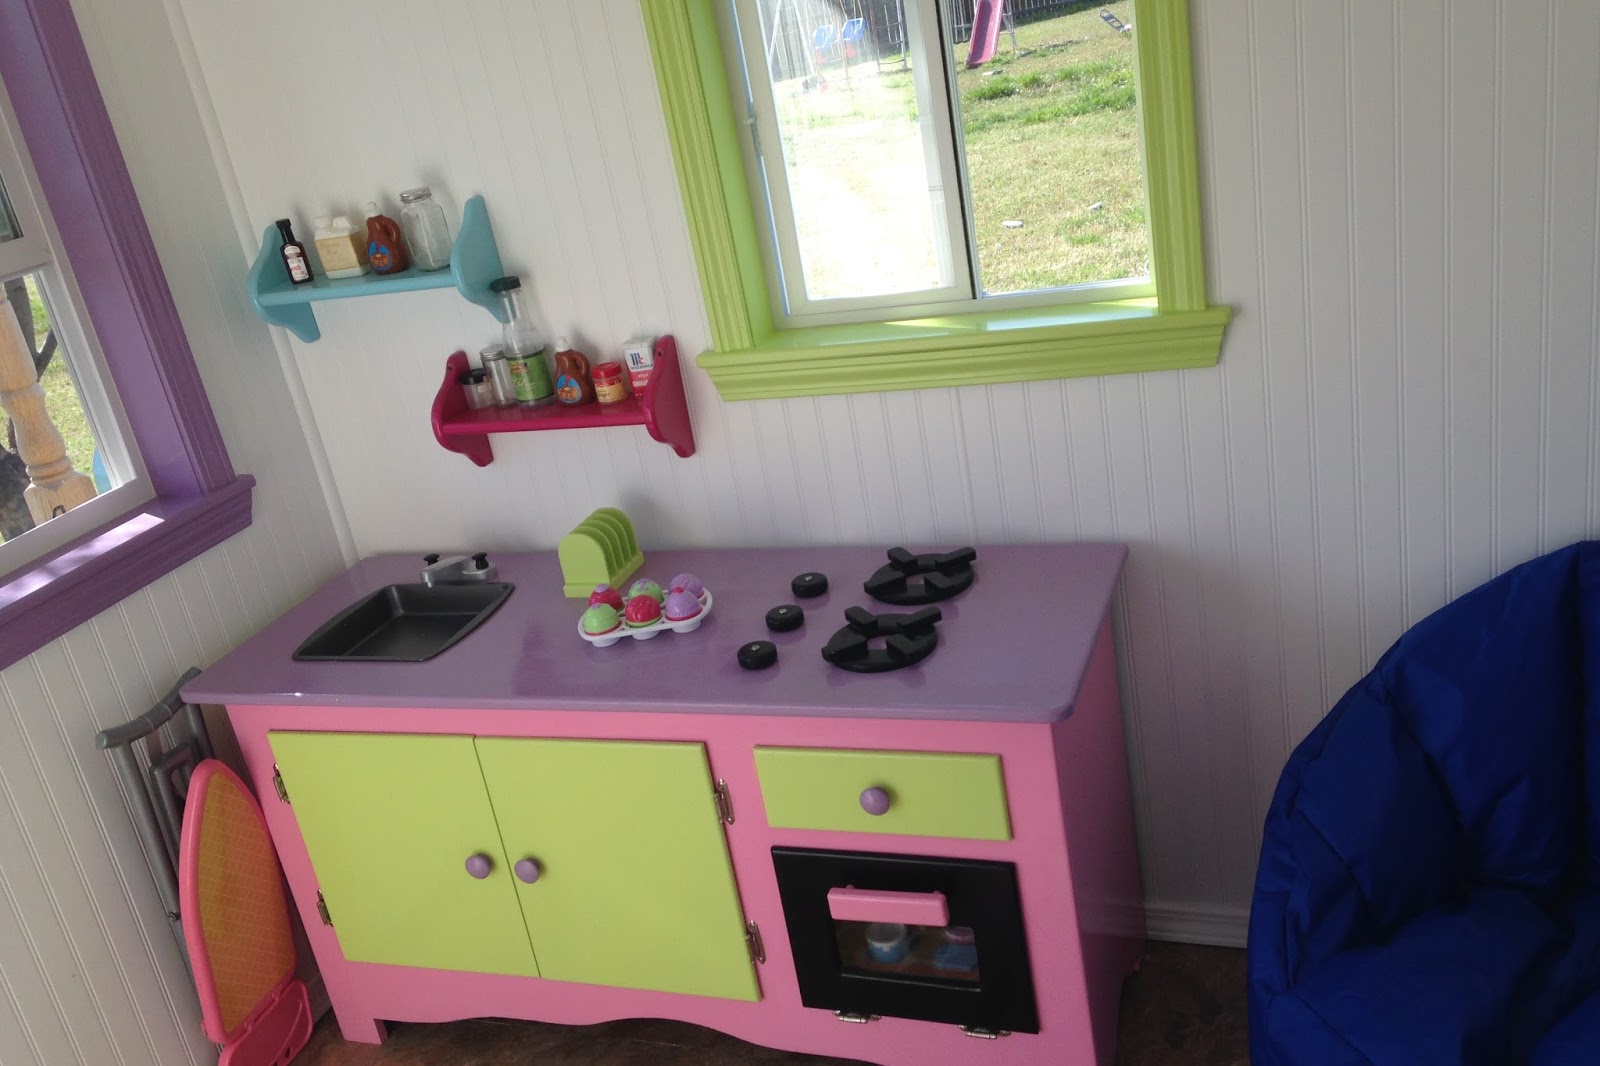
This play kitchen is one that my dad built for my niece, Kaylee. When she outgrew it, my niece, Chloe Jo, inherited it. Then, Chloe Jo handed it down to us to use in our playhouse.

The small shelves above the play kitchen were given to me by Chris's mom. They were stained wood, so I sanded them down and spray painted them. They're perfect for holding our empty spice containers that the kids pretend with in their play kitchen.
I found this B that matched the trim paint perfectly, so of course I thought the playhouse needed it!

I bought the chalkboard on clearance at Hobby Lobby, and the table and chairs were a Christmas gift from my parents to my kiddos. The children spend many hours coloring, cutting, and creating in this spot. It's also perfect for playing school!

The three baskets on the wall were also a Hobby Lobby clearance item. They were all a rusty brown color, so I spray painted them to better fit our decor. They hold all our playhouse craft supplies.


Our children absolutely LOVE their playhouse. They have played in it for hours and hours, and it's generally the first thing children gravitate to when we have guests over.


We also added a few fun details to the outside of the playhouse while we were finishing up the inside. My sister found this mailbox on a buy-and-sell website, so she picked it up for us. It was originally painted cream with dark green splatters and a Christmas scene painted on the side. Chris and I sanded it down and used our trusty spray paint to make it cute and colorful! This is probably one of the kids' favorite features of the playhouse!

We initially waited to paint the outside of the playhouse due to weather issues. We planned to paint it in the spring when it was a bit warmer, but those plans got delayed when we decided to build a house. We knew that our new neighborhood would likely require us to paint the playhouse to match our house, so we held off on painting it until after we relocated it to our new house.

The first summer we had the playhouse (2016), the twins were new walkers. I was so nervous that they would fall into the porch or step and crack their little heads, so I put pool noodles on the playhouse to protect my babies' heads.

It worked great initially, but eventually the children pulled the pool noodles off. However, by the time that happened the girls were much better walkers, so the noodles had served their purpose.

I wrote about this a little when I posted about building our house and moving, but the playhouse was a big consideration when deciding on a neighborhood, lot, and house. We knew that after all the work that had been put into building the playhouse, we definitely wanted to take it with us if possible. Less than a year after starting construction on the playhouse, we paid a small building mover to pull it onto a trailer and move it to our new yard for us.

Thankfully, we only moved about a mile down the road from where we had lived, so the playhouse didn't have to travel far.


It only took the small building mover about an hour to pull it onto a trailer, drive it down the road, and put it down in its new home.

After moving the playhouse, we had the task of leveling it before we allowed the kids to play in it again. I had packed up everything in it for the move, so we had to unpack it, as well. It took us a while to get all that done (it wasn't priority, for sure), but we finally got it all unpacked and ready to be painted. We first put a good coat of primer on the exterior before adding the gray paint.


Finally, we finished it completely by painting the trim and doors blue (just like our house). It looks so cute, and so many kids have enjoyed playing in it already!


Our yard is large and sloped, so that's the reason the playhouse is so far from the house. I think it looks farther in this photo than it really is, but I love sitting on the back porch watching my kiddos enjoy our playhouse. I definitely don't regret building our own instead of buying one, and I know we will continue to enjoy hours of playtime, imagination, and creativity in our playhouse!


1 comment:
You guys did an amazing job... I hope your little people have hours of fun with it xx
Post a Comment